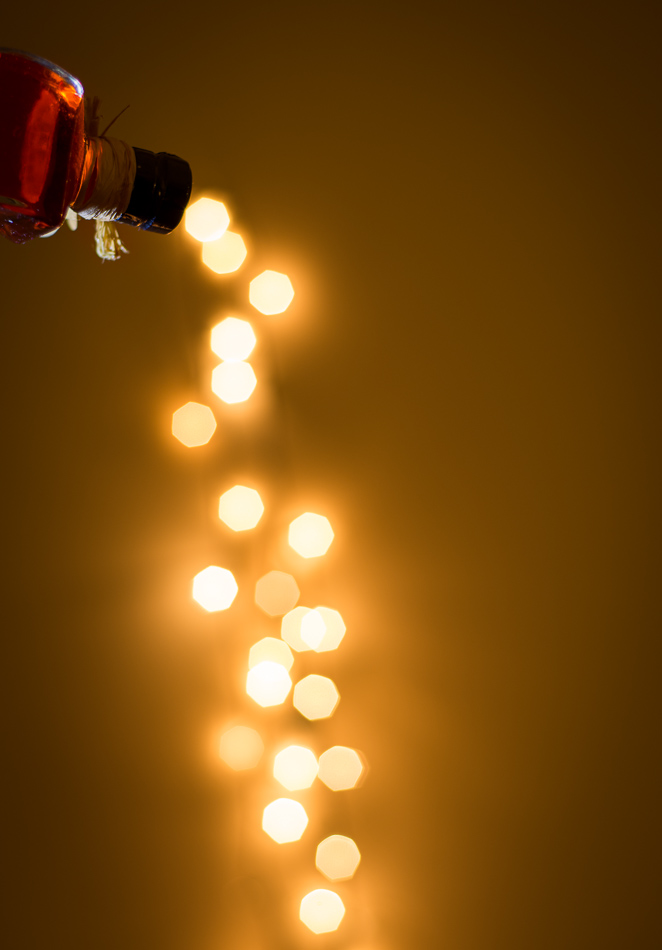
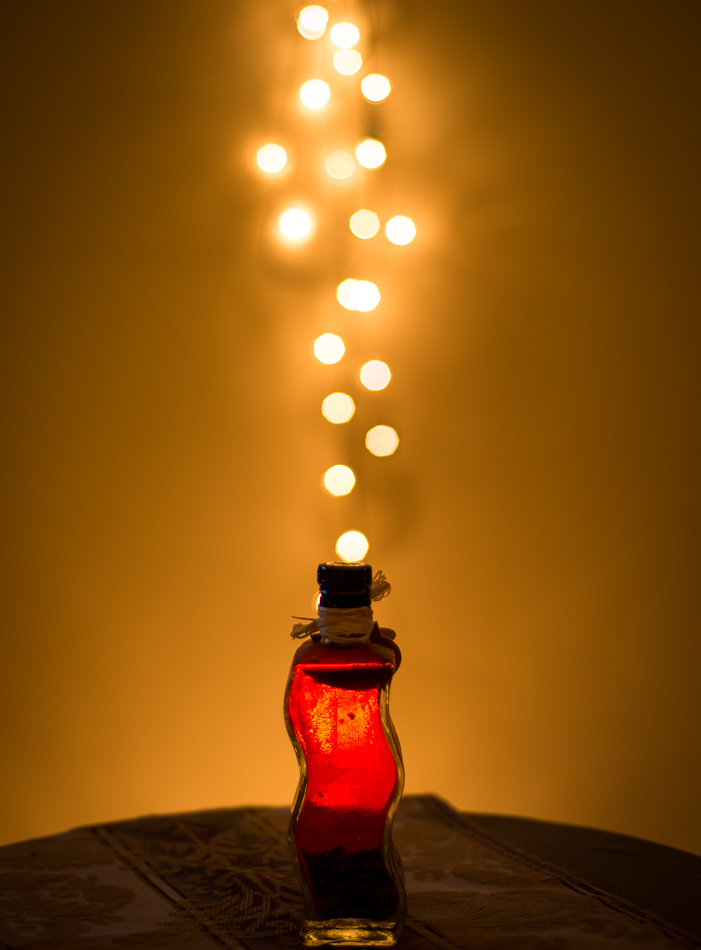
I posted an article before about how to shape your bokehs, but I didn’t really talk about basic bokeh principles. So, what in the world is bokeh!? The word refers to the blurring effect you get with light in your photos. In particular, most people think of portraits where the subject is sharp and in focus, but the background highlights are blurred into sphere shape or maybe something like an octagon. This gives a nice, appealing photo. It can also be used creatively to get other effects like I’ve done in these photos.

So, how do you get that bokeh blur? I’ve found there are 3 crucial components…
- You need to shoot “wide open.” In DSLR terms, this means to use as low of an f-stop as possible. In my case, I was shooting between f1.8 and f2.2. Play with your settings until you get a bokeh look that you like.
- Next, you need some lights or highlights in your background. The lights are what form the bokeh shapes in your image. In my case, I used a strand of Christmas lights.
- Lastly, you need to focus your camera BEFORE your light source. The further away you focus your camera, the larger the bokeh shapes will be. In my case, I probably had the camera focused on a bottle about 2 feet from the camera. The lights on the wall were probably about 6 feet away.
Once you have the basic principles, play and have fun!
